SHAPE ART (with a bit of geometry thrown in)
- Check out the pack and share out the shapes available.
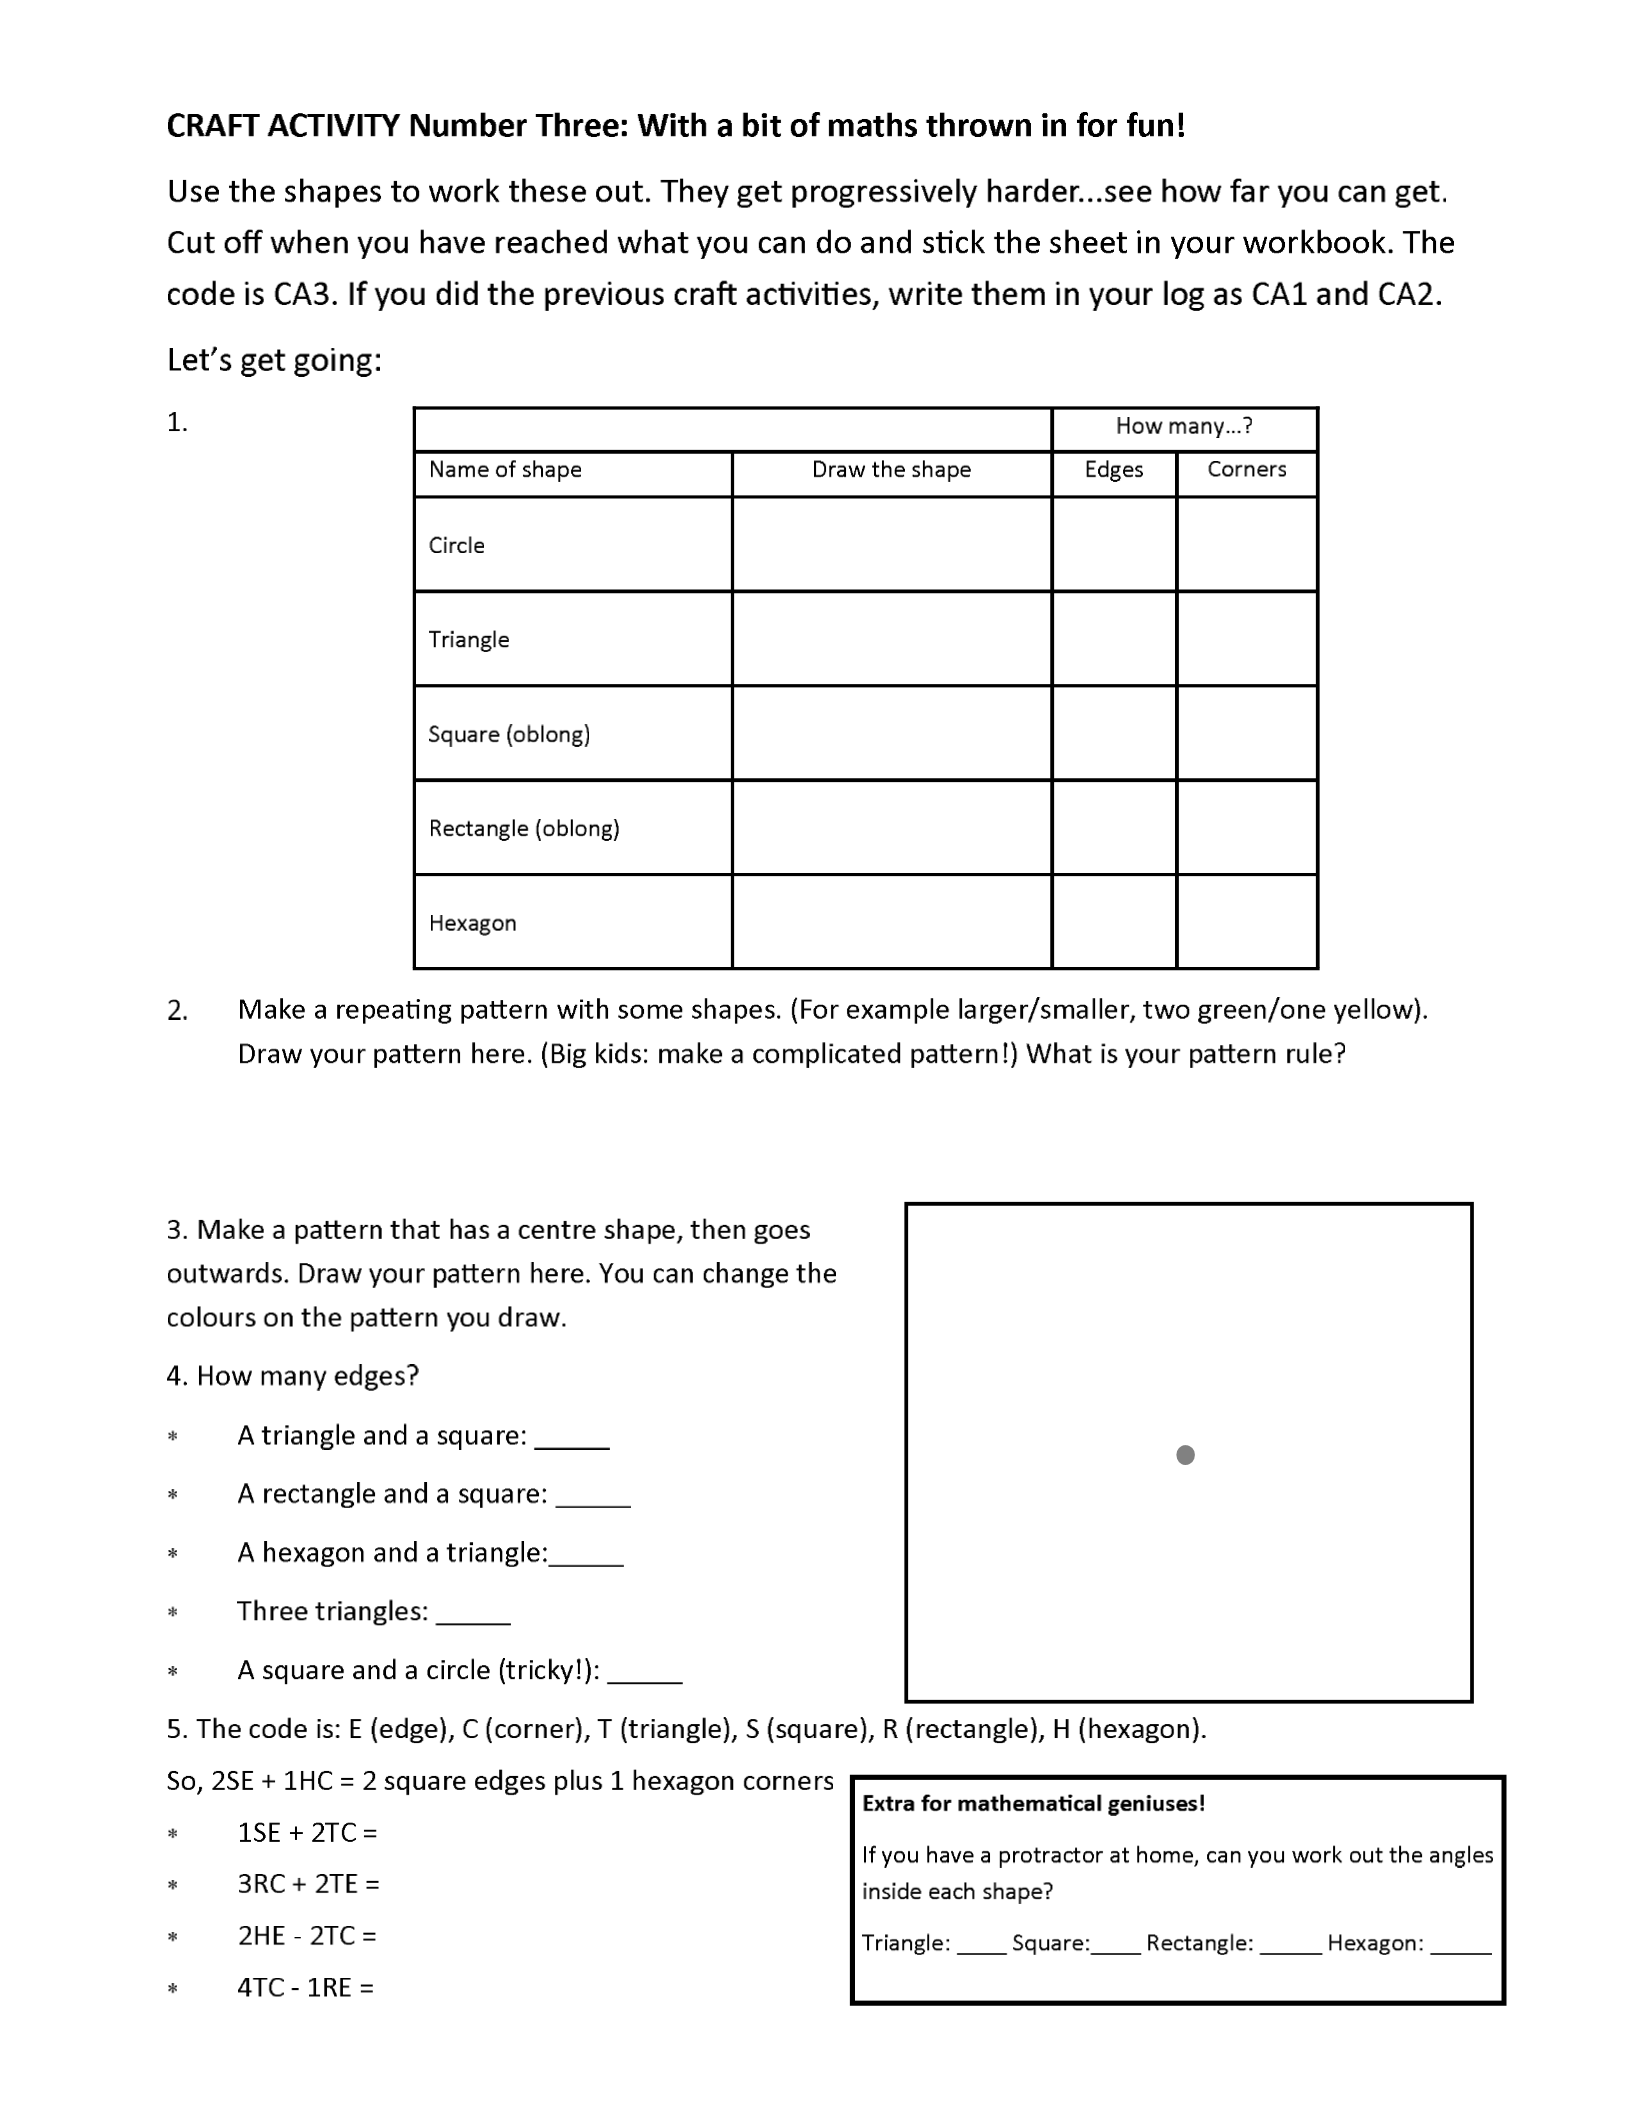
- Work through the maths work sheet as far as you can go. (This will depend largely on the age of the tamariki. Big kids could help little kids.)
- Stick your sheet in your workbook and record it on your Activity Log.
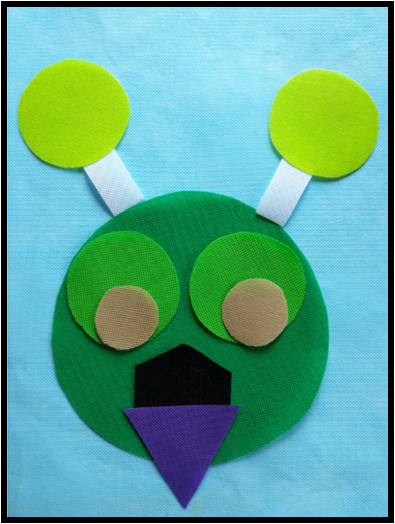
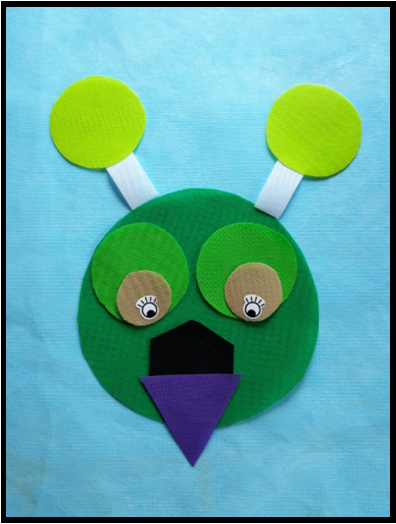
- You have a cardboard frame and a weed mat colour. Use your shapes to create a piece of art. There are also a selection of eyes in your pack, which help bring your beastie alive, if that is what you have created. You can also add other materials you have at home.

Sleeping

Awake!
5. Once you are happy with your design, there are several ways you can fix it all together. DO NOT stick your picture onto the frame at this point.
- You should have mixed paste leftover from Craft Activiity Two. Starting with the bottom shapes get them good and gluey with your hands or a brush and stick them on. Once your picture is together, put something heavy on top (that will not stick to the picture like a plastic tray with a heavy book on top) and leave to dry.
- You can use a glu-stick, but it will use up a lot and it’s tricky to get the edges.
- Needles and thread are included if you and/or adults are really keen. A bit age and ability dependent.
- If you have a sewing machine at home, all the bits could be machined together, starting with the top layer and working down.
- NOW attach your picture to the frame. If you have stickers left, you could use these by lapping over the edge of the picture and folding under... or more glue...or stapling…….or? Would love to see your pictures on the school Facebook page.
